
You open your banking app for a quick check, and there it is. A charge for an app you barely remember using. Maybe it's a meditation app from January, a photo editor you tried once, or a streaming add-on you meant to cancel after the free trial.
One charge on its own doesn't always feel urgent. A few of them, spread across the month, can gradually eat into your budget.
If you're searching how to cancel app subscription on iphone, you probably want one of two things. You want the charge to stop, and you want to make sure there aren't more hiding in the background.
That Surprise Charge You Weren't Expecting
This usually starts the same way. You're reviewing your statement, you spot a recurring charge, and your first thought is, “What even is this?”
The frustrating part is that these charges are often small enough to slip past you. A few dollars here, a monthly fee there, and suddenly you're paying for services you're not using. That's why subscription creep feels sneaky. It doesn't arrive as one big expense. It builds through neglect.
A 2024 survey found that 68% of iPhone users aged 18 to 44 subscribe to at least three recurring app services, yet 42% said they don't review them monthly, which helps explain why accidental renewals are so common, according to Apple's subscription support information.
Why people miss them
There are a few common reasons this happens:
- Free trials roll over: You download something for a week, forget about it, and it becomes a paid plan.
- Charges use unfamiliar labels: The billing name on your card may not match the app icon you remember.
- You assume deleting the app cancels it: It doesn't. Removing the app from your Home Screen usually has no effect on billing.
- You meant to deal with it later: Later turns into the next billing cycle.
If you want a second walkthrough after this article, this step-by-step subscription guide is a useful companion because it shows the cancellation flow in plain language too.
A simple habit helps here. Keep a running list of recurring charges, even if it's just a note in your phone or a spreadsheet of monthly costs. If you need a starting point, this guide to organising your list of expenses can help you see where subscriptions fit inside your broader budget.
Deleting an app stops you from seeing it. It doesn't stop the payment.
How to Cancel App Subscription on iPhone Settings
For many users, the fastest route is through Settings on the iPhone itself. This is the main Apple-managed path, and the Settings method has a 94% success rate for first-time users and usually takes less than a minute with five taps, according to NerdWallet's guide to cancelling Apple subscriptions.
Here's what the screen path looks like:
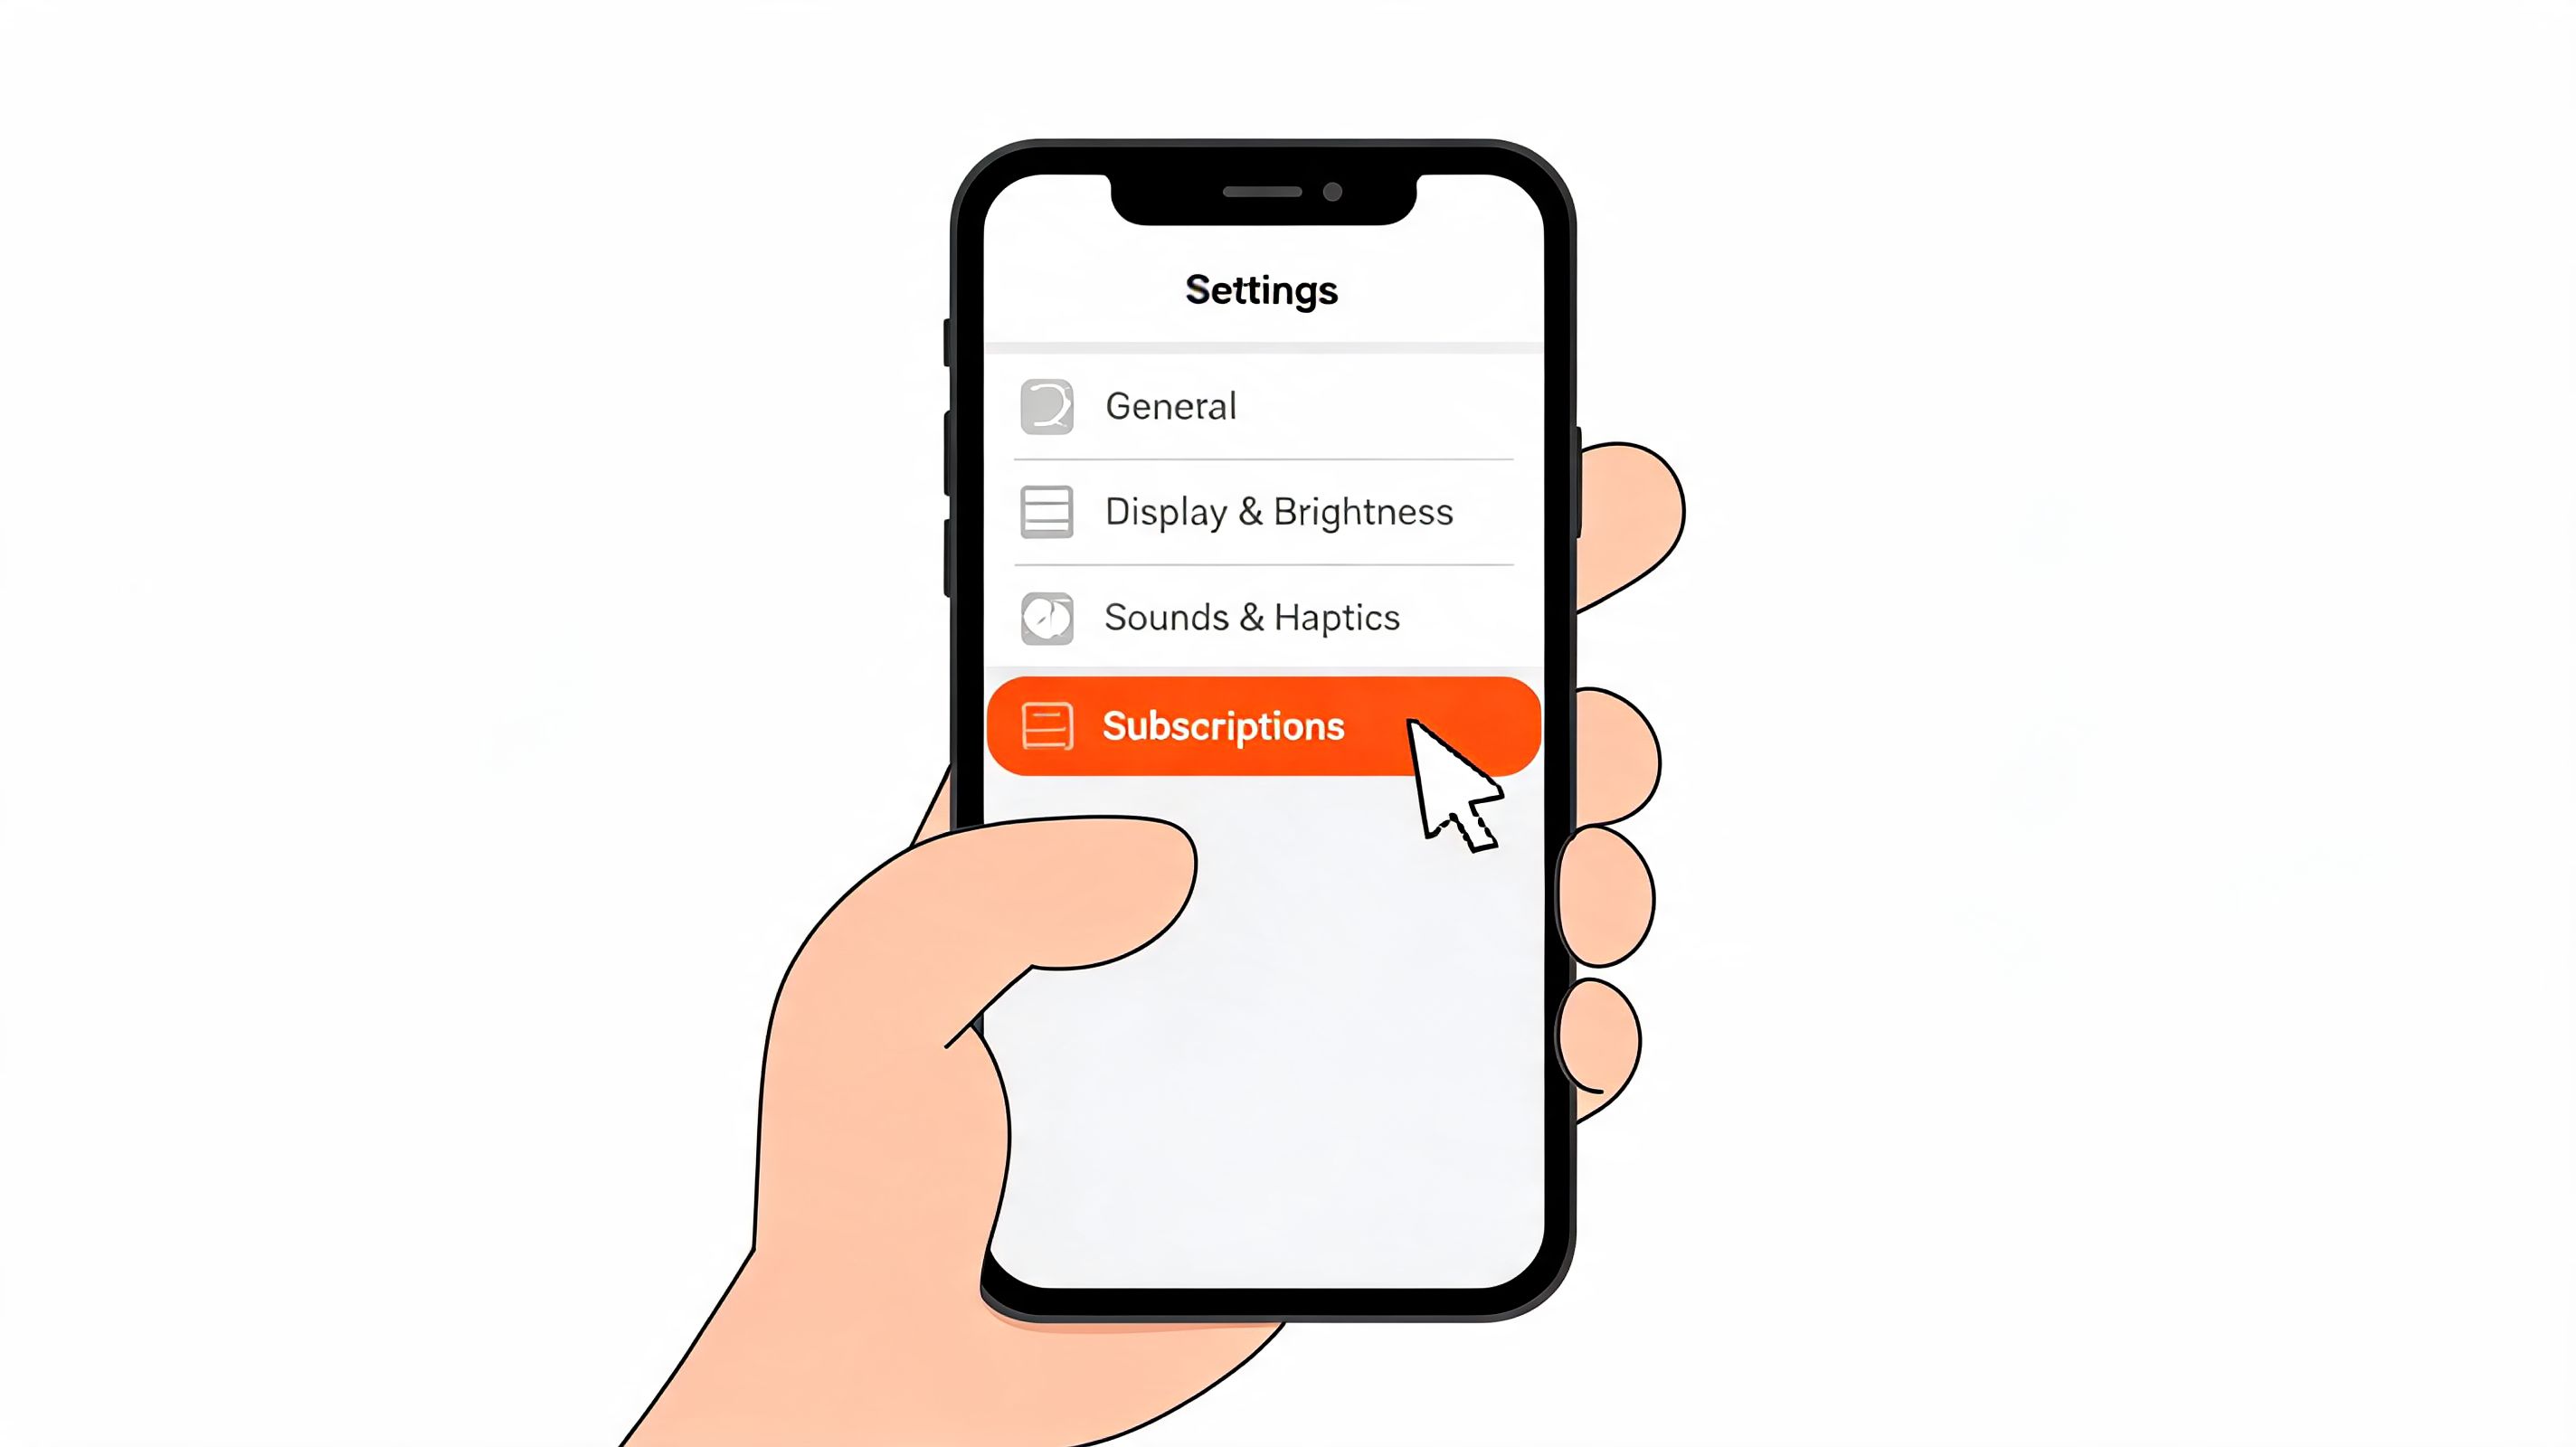
The exact taps to make
- Open Settings.
- Tap your name at the top of the screen.
- Tap Subscriptions.
- You'll see your active and expired subscriptions.
- Tap the subscription you want to stop.
- Tap Cancel Subscription.
If you don't see a cancel button, that usually means one of two things. Either the subscription is already cancelled, or it wasn't billed through Apple in the first place.
What the screen is telling you
Inside the subscription page, pay attention to the wording under the app name. Apple often shows the renewal date or the expiry date. That tells you whether the plan is still active and when access ends.
Practical rule: If you see an expiry date instead of a renewal date, the subscription is usually already set to end.
A few readers get tripped up because they expect the app to stop working the second they cancel. That's usually not how it works.
When you cancel, you typically keep access until the end of the current billing period.
That's normal. You've stopped the next renewal, not erased the time you already paid for.
If the subscription isn't in the list
This is the part that causes the most confusion. If you look in Settings > your name > Subscriptions and the charge isn't there, don't keep tapping in circles. It often means the provider bills you directly.
That's common with many popular services, and I'll show you how to handle that below.
If you also manage subscriptions across other platforms, you might want this separate walkthrough on cancelling subscriptions on Google Play.
Cancelling on Your Mac or Windows PC
Your subscriptions are tied to your Apple ID, not just the physical iPhone in your hand. So if your phone isn't nearby, or you find it easier to manage account settings on a larger screen, you can do it from a computer.
On a Mac
Use the App Store:
- Open the App Store
- Click your name in the lower sidebar
- Click Account Settings
- Scroll to Subscriptions
- Click Manage
- Find the subscription and choose the cancellation option
On some versions of macOS, the wording may look slightly different, but the path is broadly the same. The key is that you're looking for the account area connected to your Apple ID.
On Windows
Windows users may manage this through Apple software such as iTunes or the relevant Apple app tied to account settings.
Use this basic flow:
- Open the Apple app you use for your account
- Sign in with the same Apple ID
- Go to Account or Account Settings
- Find Subscriptions
- Select the app or service
- Cancel it there
If you don't see a subscriptions area at all, switch back to your iPhone and use the Settings method. It's usually more straightforward and easier to verify.
If a subscription appears on one Apple device, it should be manageable anywhere you're signed in with the same Apple ID.
Handling Subscriptions Billed Outside of Apple
A lot of people assume every iPhone subscription lives inside Apple's subscription menu. That's the mistake.
Some services use the iPhone for sign-up but handle billing themselves. In those cases, the cancellation won't appear in your Apple subscription list, because Apple isn't processing the payment.
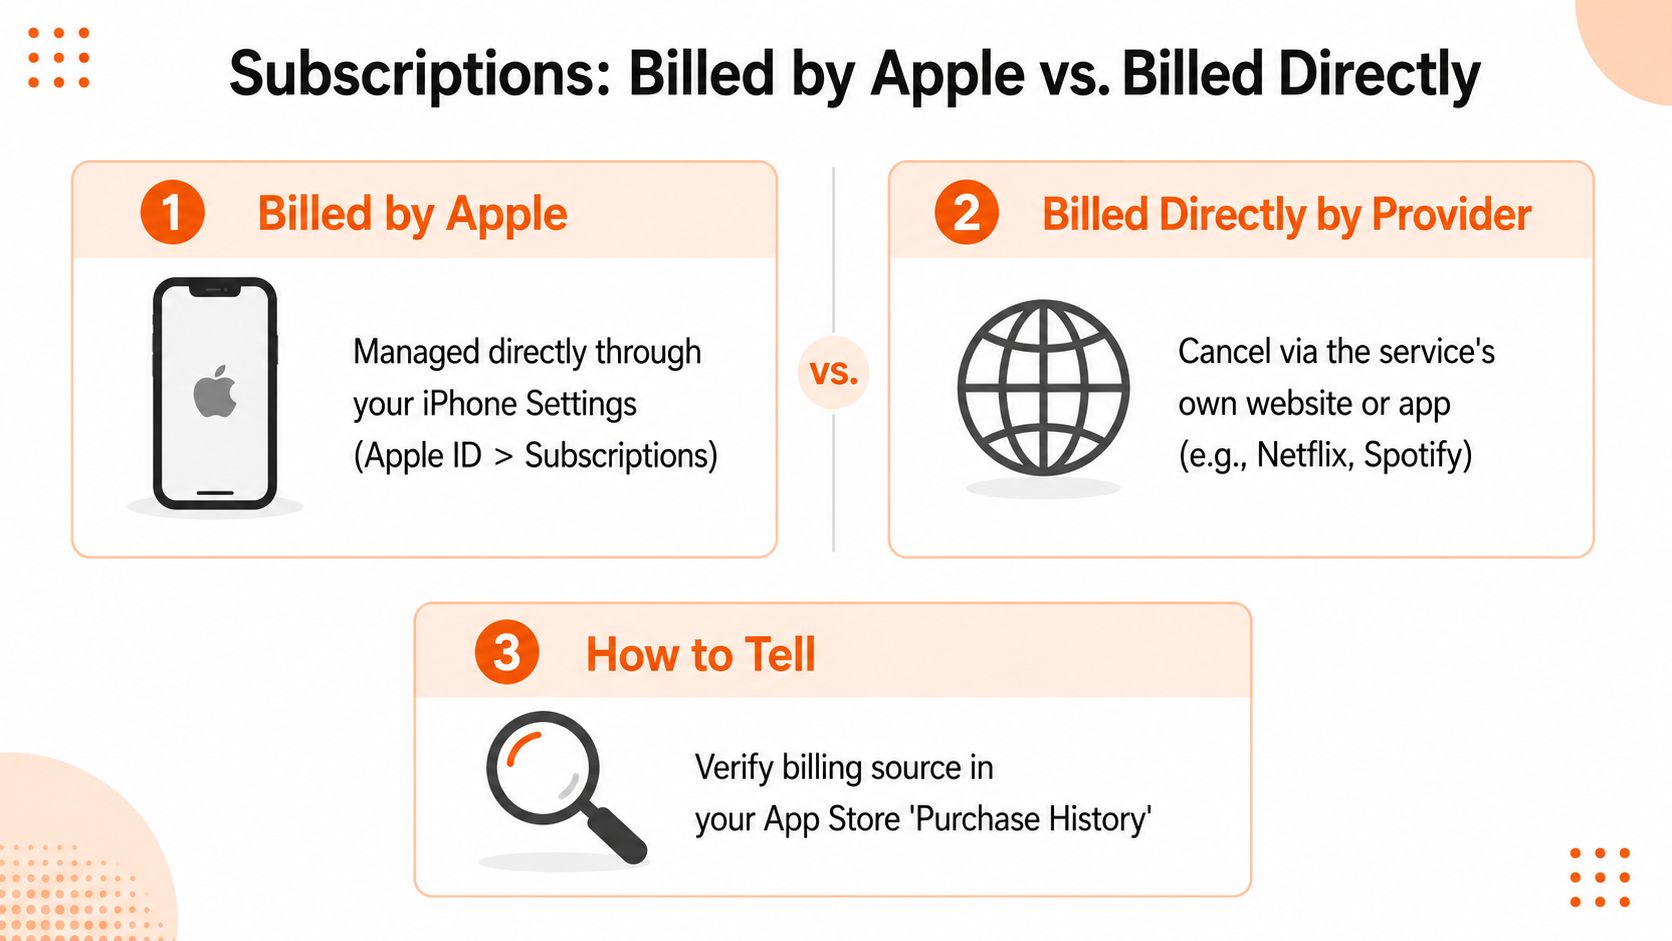
In Canada, a 2025 survey found that 23% of iPhone users struggled to cancel subscriptions billed directly by developers, and the same survey said that confusion led to average annual waste of CAD $156 per user, according to Engadget's reporting on cancelling subscriptions outside Apple.
How to tell whether Apple billed it
Check these clues:
- It appears in Settings > Subscriptions: That usually means Apple billed it.
- It appears on your bank statement with a merchant name you don't recognise: It may be billed directly.
- The app's website mentions membership or billing settings: That's often your cancellation path.
- You can't find it in Apple's list at all: Treat it as a direct-billed subscription until proven otherwise.
A practical checklist for direct-billed subscriptions
If the charge isn't showing under Apple, use this order:
- Search your email inbox: Look for terms like “receipt”, “renewal”, “membership”, or the app name.
- Check your card statement carefully: The billing descriptor may use the company name, not the app store name.
- Log in on the provider's website: Many services keep cancellation inside account settings, billing, or membership.
- Look for plan details inside the app: Some apps don't let you cancel there, but they do tell you where billing is managed.
- Contact support if you're blocked: Ask them to confirm whether billing is direct and request cancellation in writing.
Canadian users run into this with services that feel local or familiar, including food, rewards, and lifestyle apps. If you're dealing with recurring charges connected to payment platforms, this guide on how to cancel a payment in PayPal can also help when the billing trail gets messy.
If a company bills you directly, Apple usually can't cancel it for you.
One more thing. Don't rely on uninstalling the app. For direct-billed services, that almost never ends the subscription.
Confirming Cancellation and Requesting Refunds
Tapping Cancel Subscription is only half the job. You still need proof that it worked.
The easiest confirmation is inside the subscription screen itself. After cancellation, the wording usually changes from a future renewal to an end date. That tells you when access will stop.
What to do right after cancelling
Use this quick follow-up list:
- Take a screenshot: Save the confirmation screen or expiry date.
- Check for an email receipt or confirmation: Keep it in case the charge appears again.
- Set a calendar reminder: Review your next statement after the usual billing date.
- Watch pending charges: If the renewal was already in process, you may need to follow up.
About refunds
Refunds are a separate issue from cancellation. Cancelling stops future renewals. It doesn't automatically reverse a recent charge.
If the renewal was accidental, you can try Apple's refund request process through reportaproblem.apple.com. Be clear, polite, and specific about what happened. For example, explain that you forgot to cancel a trial or didn't intend to renew.
Apple may review the request, but approval isn't guaranteed. That's why screenshots and confirmation emails matter. They give you a record if you need to dispute a charge or compare dates later.
If the charge landed on a card you're actively paying down, it also helps to understand how those extra costs affect your balance. This explainer on what it means to overpay a credit card can help if you're cleaning up a messy statement.
How to Stop Paying for Subscriptions You Forgot
Cancelling one unwanted app is helpful. Preventing the next forgotten renewal is better.
The problem with subscriptions isn't just the cancellation process. It's visibility. Apple shows Apple-billed subscriptions well enough, but many people also have direct-billed services, annual renewals, and small recurring charges spread across different cards and merchants.
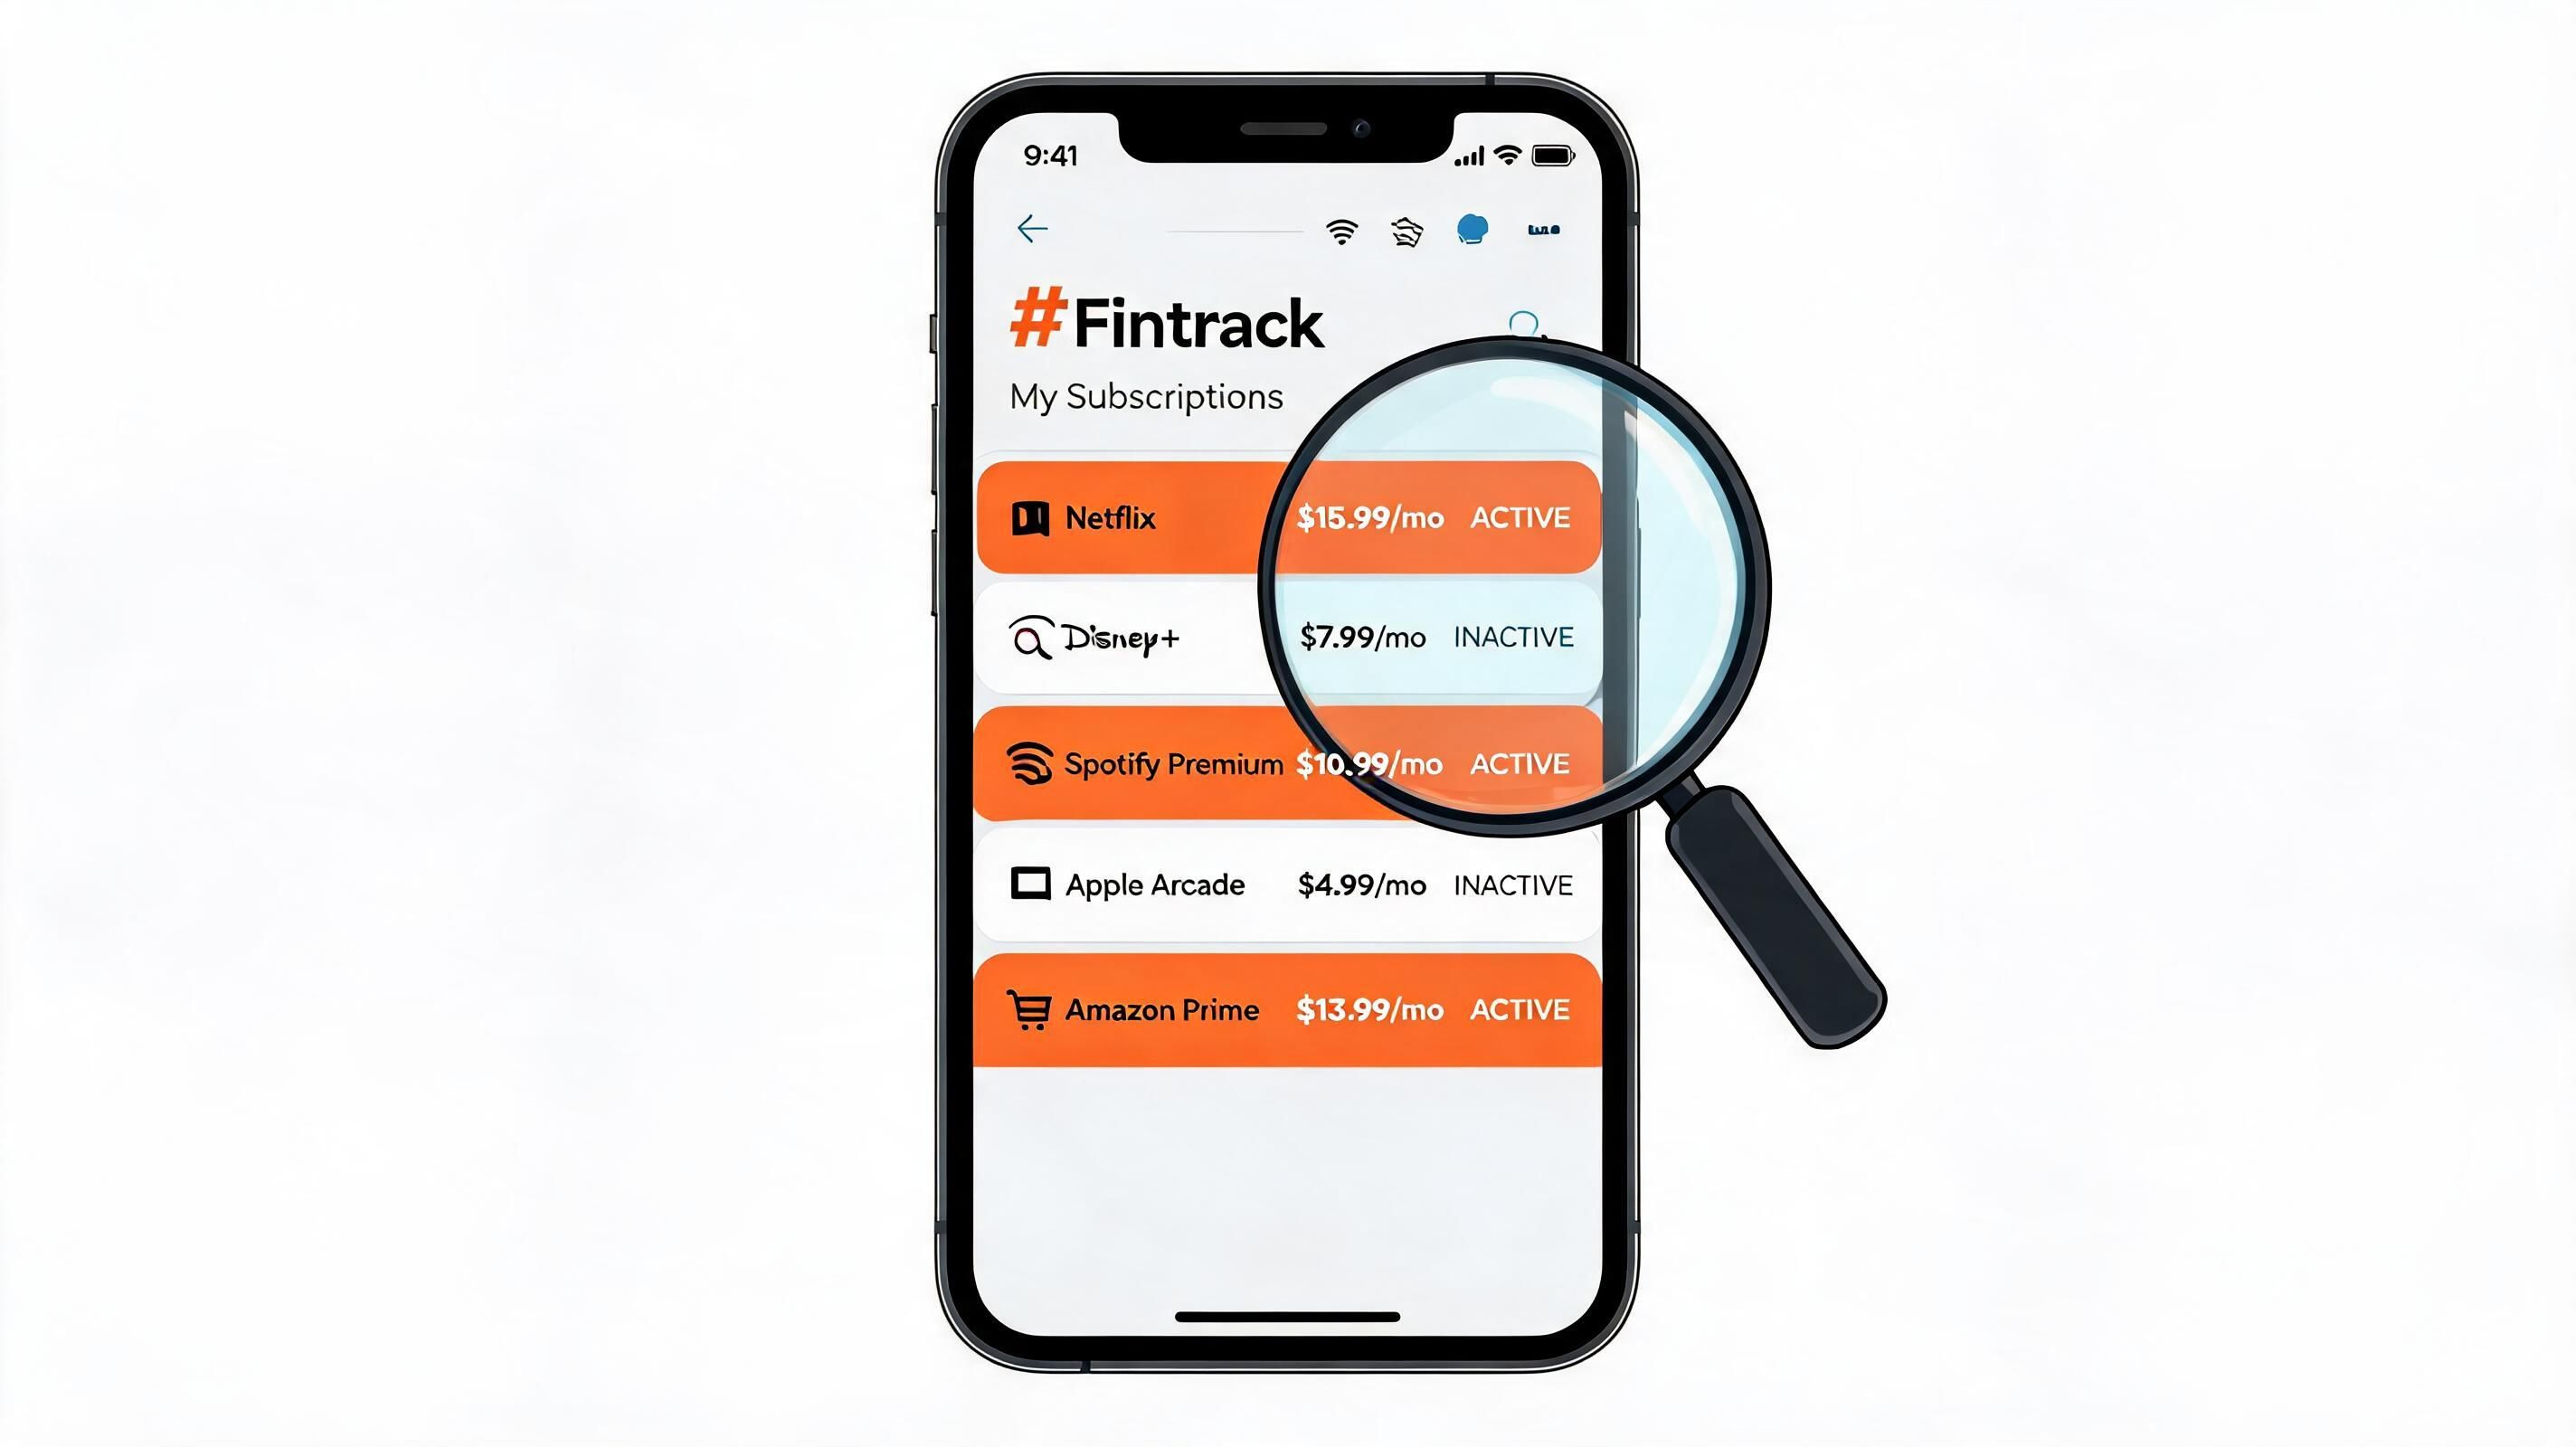
A better system than memory
If you want to stop this from turning into a recurring cleanup project, build a simple review habit:
- Scan monthly statements: Look for repeated charges on the same date or from the same merchant.
- Review email receipts: Renewal notices often arrive before the payment hits.
- Keep one subscription list: Include app name, amount, billing date, and cancellation path.
- Flag annual plans: These are easier to forget because they don't appear every month.
A lot of people don't need more budgeting theory here. They need one place to see recurring charges clearly and decide what stays.
Why tracking matters
When subscriptions are scattered, you end up solving the same problem over and over. You forget a charge, notice it late, cancel it, then repeat the cycle with a different app months later.
A monthly review process makes that easier. If you want help spotting repeat charges alongside the rest of your spending, this guide to using a monthly bill tracker is a practical next step.
The best subscription strategy is simple. Catch renewals before they become surprises.
If you want a simpler way to keep an eye on recurring charges, Fintrack can help you review your spending in one place and spot subscriptions that might be slipping through. It's a practical next step if you're trying to stay organised, trim waste, and make fewer “what is this charge?” discoveries at the end of the month.